<!DOCTYPE html>
<html lang="">
<head>
    <meta charset="utf-8">
    <meta name="viewport" content="width=device-width, initial-scale=1.0">
    <title>유효성 검사</title>
</head>

<body>

    <form id="myform">

        <h1> 회원가입</h1>
        <hr>
        <table>
            <tr>
                <td><label for="uesrid">아이디(이메일)</label></td>
                <td><input type="text" name="userid" id="userid"></td>
            </tr>
            <tr>
                <td><label for="pw">비밀번호</label></td>
                <td><input type="password" name="pw" id="pw"></td>
            </tr>
            <tr>
                <td><label for="pw-check">비밀번호 번호 확인</label></td>
                <td><input type="password" name="pw-check" id="pw-check"></td>
            </tr>
            <tr>
                <td><label for="username">이름</label></td>
                <td><input type="text" name="username" id="username"></td>
            </tr>
            <tr>
                <td></td>
                <td><input type="submit" value="회원가입">
                    <input type="reset" value="초기화"></td>
            </tr>


        </table>
    </form>
</body>
</html>
<!DOCTYPE html>
<html lang="">
<head>
<meta charset="utf-8">
<meta name="viewport" content="width=device-width, initial-scale=1.0">
<title>유효성 검사</title>
<script>
window.onload = function(){
document.querySelector('#myform').onsubmit = function(){
var userid = document.querySelector('#userid');
var pw = document.getElementById('pw');
var pwcheck = document.getElementById('pw-check');
var username = document.querySelector('#username');
// 유효성 검사 1: 공백이 없어야 한다.
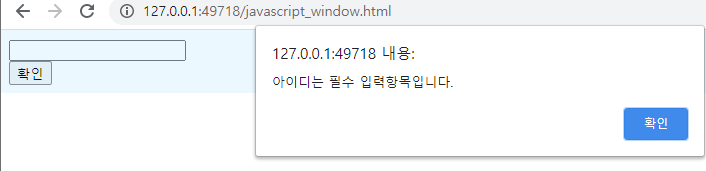
if(userid.value.trim().length < 1){
alert ('id는 필수 항목입니다.');
userid.value='';
userid.focus(); //커서를 userid로 이동시키는 함수
return false;
}
if(pw.value.trim()<1){
alert('비밀번호는 필수항목입니다.');
pw.value='';
pw.focus();
return false;
}
// pw == pwcheck 이어야 한다.
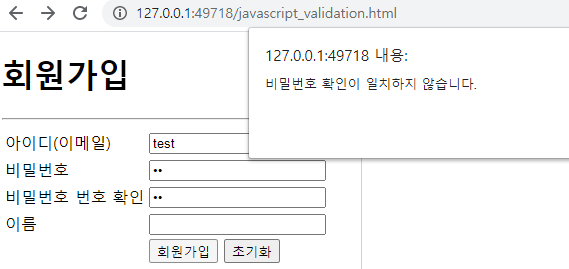
if(pwcheck.value.trim()<1 || pw.value!=pwcheck.value){
alert('비밀번호 확인이 일치하지 않습니다.');
pwcheck.value='';
pwcheck.focus();
return false;
}
if(username.value.trim()<1){
alert('이름 항목은 필수항목입니다.');
username.value='';
username.focus();
return false;
}
};
};
</script>
</head>
<body>
<form id="myform" action="http://www.naver.com">
<h1> 회원가입</h1>
<hr>
<table>
<tr>
<td><label for="uesrid">아이디(이메일)</label></td>
<td><input type="text" name="userid" id="userid"></td>
</tr>
<tr>
<td><label for="pw">비밀번호</label></td>
<td><input type="password" name="pw" id="pw"></td>
</tr>
<tr>
<td><label for="pw-check">비밀번호 번호 확인</label></td>
<td><input type="password" name="pw-check" id="pw-check"></td>
</tr>
<tr>
<td><label for="username">이름</label></td>
<td><input type="text" name="username" id="username"></td>
</tr>
<tr>
<td></td>
<td><input type="submit" value="회원가입">
<input type="reset" value="초기화"></td>
</tr>
</table>
</form>
</body>
</html>


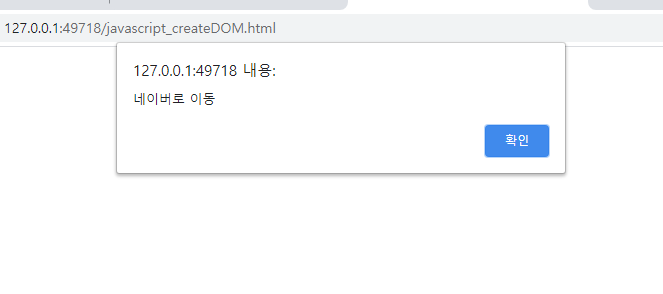
다 입력하면 action = > naver로 가짐
'front-end > Javascript & jquery' 카테고리의 다른 글
| [jquery] 기본 (0) | 2020.12.02 |
|---|---|
| [자바스크립트 ] 이벤트 삭제 (0) | 2020.11.30 |
| [자바스크립트] 이벤트 전달 / 막기 (bubbling) / stopPropagation (0) | 2020.11.30 |
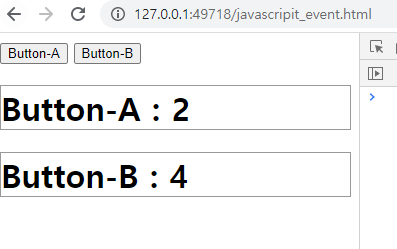
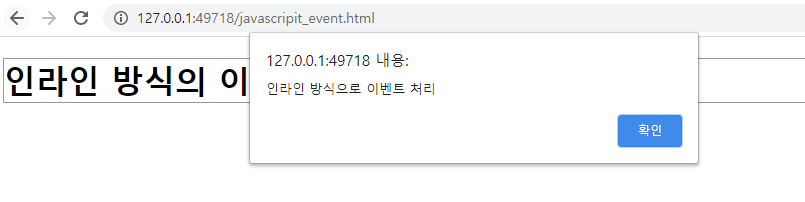
| [자바스크립트] 이벤트 (0) | 2020.11.30 |
| [자바스크립트] 문서객체의 스타일 조작 (0) | 2020.11.30 |
| [자바스크립트] 문서 객체 가져오기 / getElementById / querySelector (0) | 2020.11.30 |
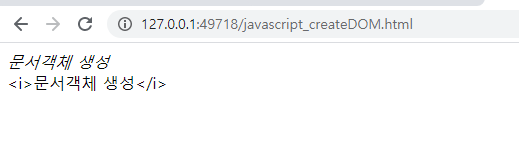
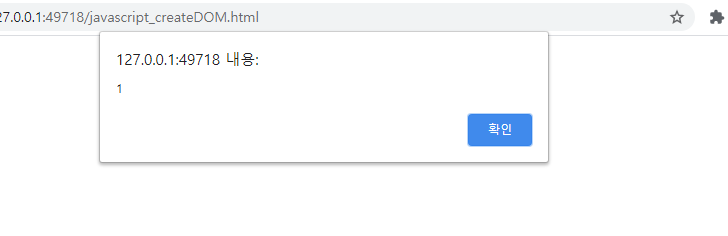
| [자바스크립트] 문서객체 만들기 / createElement / createTextNode (0) | 2020.11.30 |